Adding Trivy Scanner as custom Admission Controller
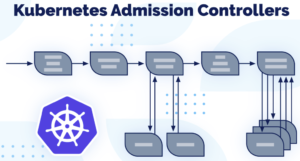
We will include an Image Policy Webhook on our kubeadm Kubernetes cluster in order to enhance its security, not allowing containers with more than 3 CRITICAL vulnerabilities from getting scheduled on our cluster.
To accomplish this, the first step involves deploying a Scanner. In this instance, I have utilized a custom trivy scanner that I developed in Go, which utilizes the Trivy scanner in its operation. You can review the project here: go-trivy-scanner
Changes required to kube-api
Add the option --admission-control-config-file=/etc/kubernetes/admission-control/image-policy-webhook-conf.yaml
Append the plugin ImagePolicyWebhook to the option --enable-admission-plugins
After that, on our master node, we will configure the static Pod kube-api, located on /etc/kubernetes/manifests/kube-apiserver.yaml mounting an admission-controller directory, where we will place our config files.
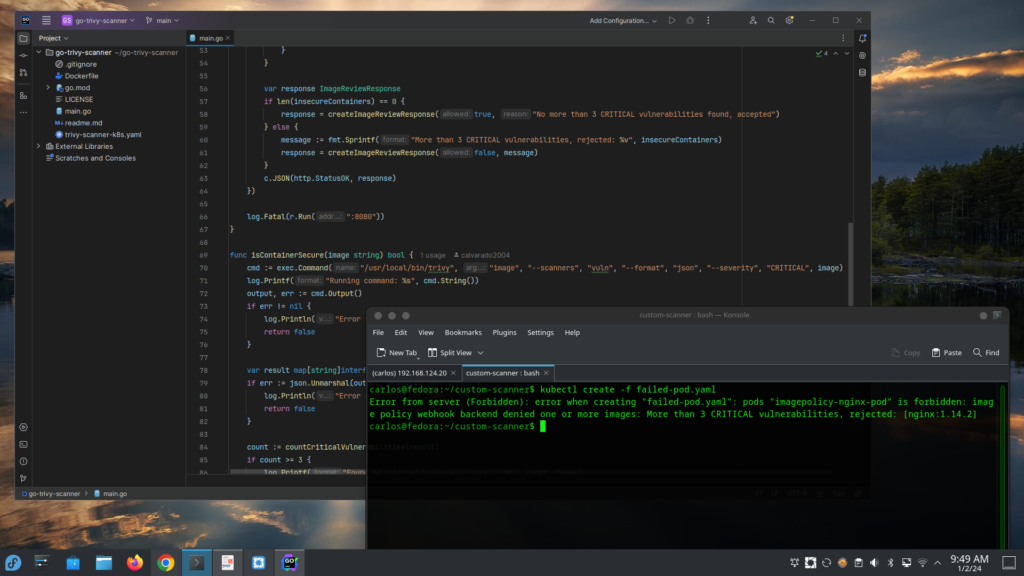
kubectl create -f faulty-pod.yaml
Error from server (Forbidden): error when creating "faulty-pod.yaml": pods "imagepolicy-nginx-pod" is forbidden: image policy webhook backend denied one or more images: More than 3 CRITICAL vulnerabilities, rejected: [nginx:1.14.2]
This will be a very technical post but I think that is gonna be also quite interesting if you are working with cloud technologies.
Elasticsearch is a pretty nice technology widely used on big data stuff, analysis and so on. However, this tool is heavy and little bit difficult to deploy and maintain on healthy status.
I'm working a lot with Google Compute Platform (GCP) that's why I decided to include this part as well.
First things first
If you don't have a GCP account, is pretty straightforward to get one, even with some free usage, Google will give you 300 dollars to spend on it... by previous registration with your credit card 😉 go ahead and do it: https://console.cloud.google.com
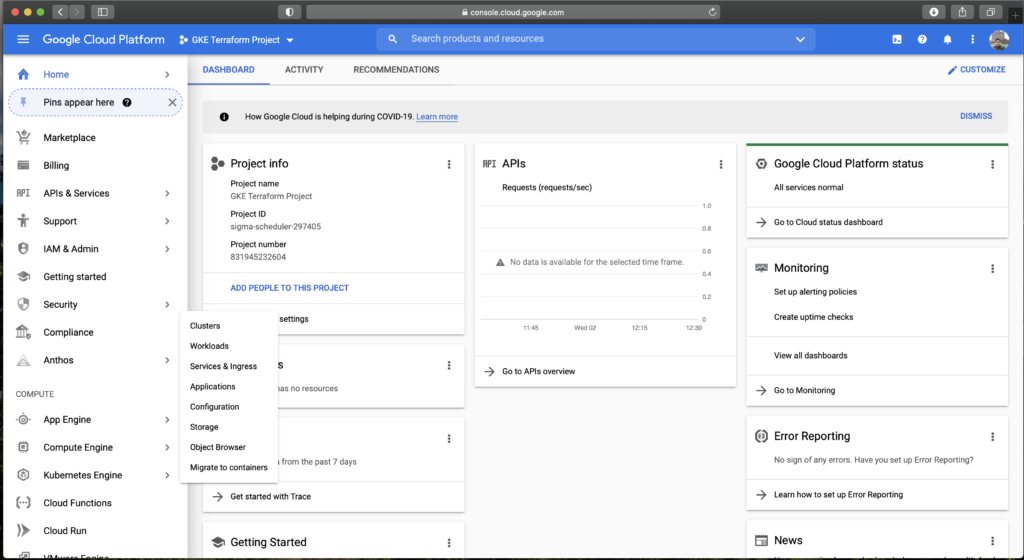
We will be using the project called GKE Terraform project as you can check below:
Get access to your gcloud project on the CLI and perform the browser steps needed to achieve it:
$ gcloud auth login
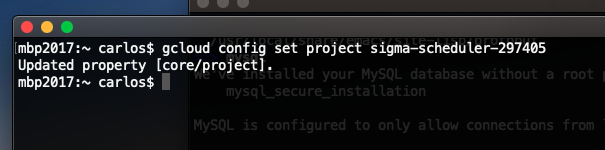
Get access to your project:
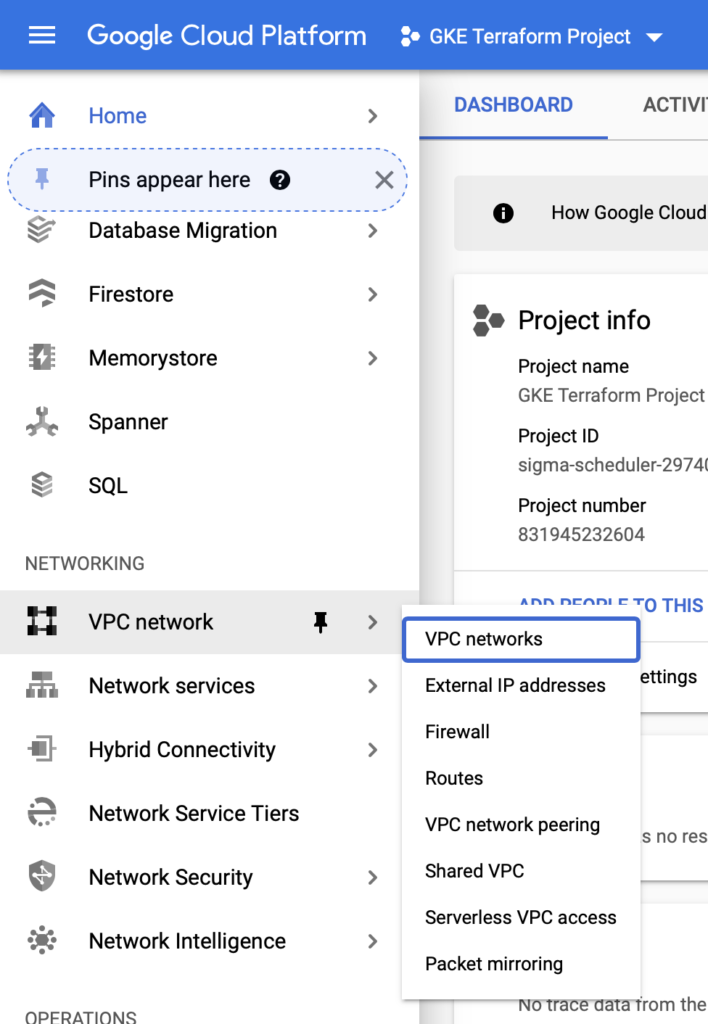
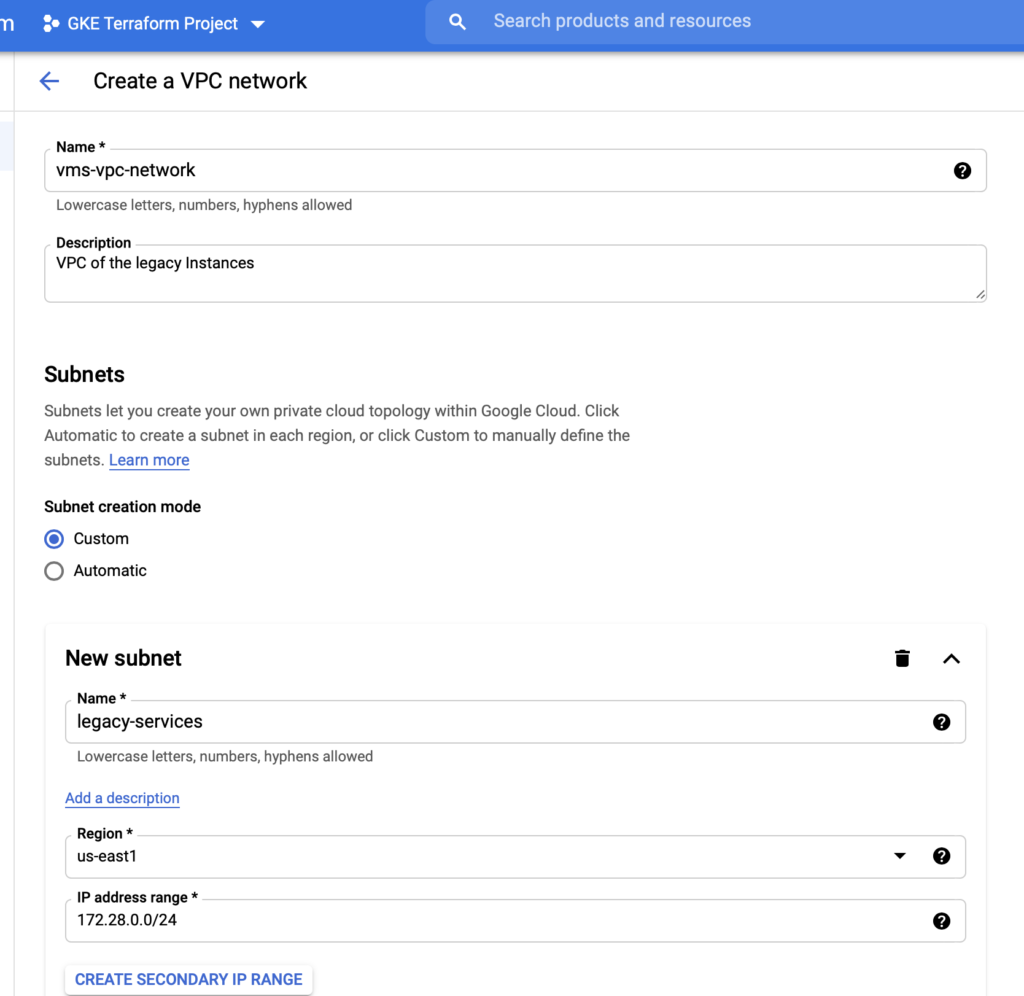
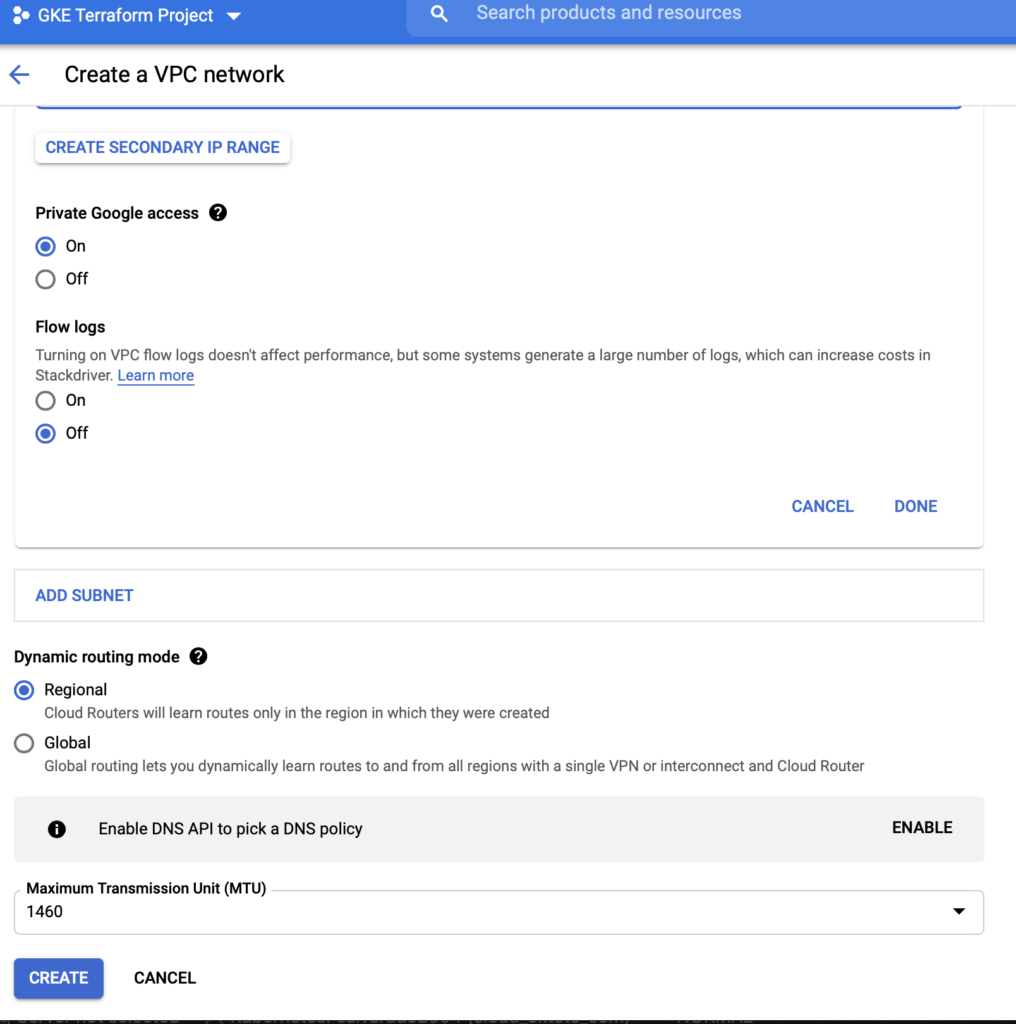
Let's create an empty VPC to simulate one environment with previous stuff deployed on it, like other instances and so on.
Well, at this point we have the very basic infrastructure to start using Terraform.
Infrastructure as Code, what does that mean?
Terraform is the leading tool to deploy infrastructure on this way, you can define a very complex set of infrastructure with code functions and treating them like objects and variables.
Please note that the size of the nodes is huge, you can go ahead and delete some of those pools of nodes and customize the CPU's and memory according to your needs and budget, I will do that, of course. You can check here another branch with smaller nodes: https://github.com/calvarado2004/terraform-gke/tree/resize-to-small
ECK can be deployed on a single node, but the minimal enterprise configuration should have:
One Kibana node
One Coordinator node
One Master node
Two Data nodes
This deployment is creating a pool of nodes for each type of node, in order to enable the autoresizing on further moments of the infrastructure lifecycle. That could give you an idea of the complexity that you can handle easily with Terraform.
Kubernetes have two internal layers of networking. We will be using the following three CIDRs:
170.35.0.0/24 for our GCP VPC, the most external face.
10.99.240.0/20 for our Kubernetes services.
10.96.0.0/14 for our Kubernetes Pods.
You can install Terraform if you have Ubuntu using this way:
$ git clone https://github.com/calvarado2004/terraform-gke.git

$ git checkout resize-to-small
Switched to branch 'resize-to-small'
Your branch is up to date with 'origin/resize-to-small'.

$ terraform init

Initializing the backend...

Initializing provider plugins...
- Finding latest version of hashicorp/google...
- Installing hashicorp/google v3.49.0...
- Installed hashicorp/google v3.49.0 (signed by HashiCorp)

The following providers do not have any version constraints in configuration,
so the latest version was installed.

To prevent automatic upgrades to new major versions that may contain breaking
changes, we recommend adding version constraints in a required_providers block
in your configuration, with the constraint strings suggested below.

* hashicorp/google: version = "~> 3.49.0"

Terraform has been successfully initialized!

You may now begin working with Terraform. Try running "terraform plan" to see
any changes that are required for your infrastructure. All Terraform commands
should now work.

If you ever set or change modules or backend configuration for Terraform,
rerun this command to reinitialize your working directory. If you forget, other
commands will detect it and remind you to do so if necessary.

$ terraform plan -out=gke-cluster.plan

$ terraform apply "gke-cluster.plan"
As a sysadmin with experience providing tech support for enterprise applications for around a decade, all this DevOps stuff happened suddenly and little bit silently to be honest, mostly because when your main concerns are to keep the daily operations working properly and the IT infrastructure doing well, there is no much time to look for new and amazing technologies. I arrived little bit late to this wave but in Mexico nowadays (late 2020), many companies are not even understanding what's going on with all this stuff.
But fortunately for me, in 2017, my colleague César Olea told me on a nice conversation that all this DevOps, CI/CD and remarkably, Containers and Kubernetes were being a great success on the IT Industry; so, after that conversation, I started to look into all this new world on my own, first with Docker and after that with Rancher 1.6 directly, which was simply great for me because that version of Rancher was a glorified Docker-Compose application, that I felt like having my own data center working inside my laptop, with each container performing pretty much like a server. And that was pretty important for me, to be able to understand and adopt all this new technology and this new approach.
Sooner than later, I realized that all this containers are not just another fancy way to deal with applications, nope, is much more than that, is a complete set of practices to enhance and improve the entire IT department, even sometimes called as Digital Transformation, term that if your company is really being involved into that, could be fairly appropriate to use.
Everything working together makes a ton of sense
Now in 2020, everything is still moving forward quite fast, even this basic example will become irrelevant in few months, but anyway, this blog is mine and is pretty much an attempt to demonstrate for myself and for others that actually I have all these skills.
The list of technologies that I'm using is just the basic for a minimal CI/CD architecture:
Programming IDE, Visual Studio Code with all the relevant plugins installed.
Python with Django as programming language, I'm learning right now Python and Django/Flask
Github account and a repository to push all my code.
A Kubernetes cluster to deploy all my stuff and deploy Jenkins, I choose Okteto because is cheap and is nice.
Okteto internal registry for the container images.
Okteto ingress controllers to publish the application.
Jenkins as Continuous Integration/Continuous Deployment engine, this approach actually could be different on many companies, because many organizations just set a trigger on every new image pushed to the container registry.
Backend
PostgreSQL database managed by Django using Django Models.
Python using Django.
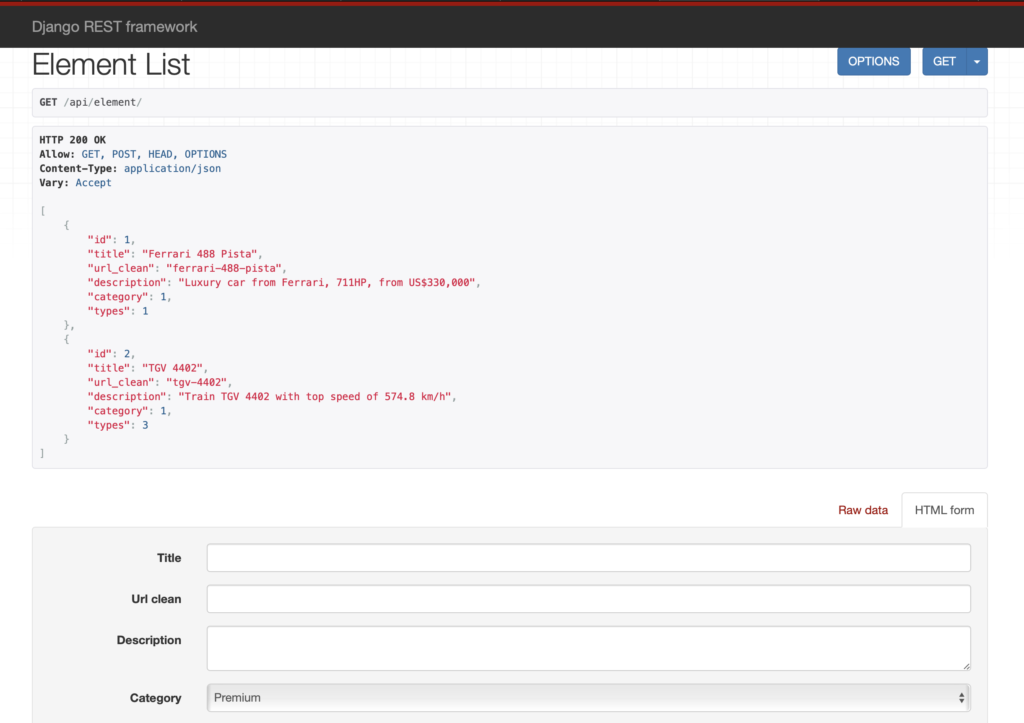
I'm generating an API Rest to be consumed by the Frontend, however, there are some parts that actually comes directly from Django because this framework can act as frontend as well as backend.
Nginx Load Balancer, this would not be needed on this very basic application, but I decided to include it just for the challenge and because on more complex applications Nginx is widely used.
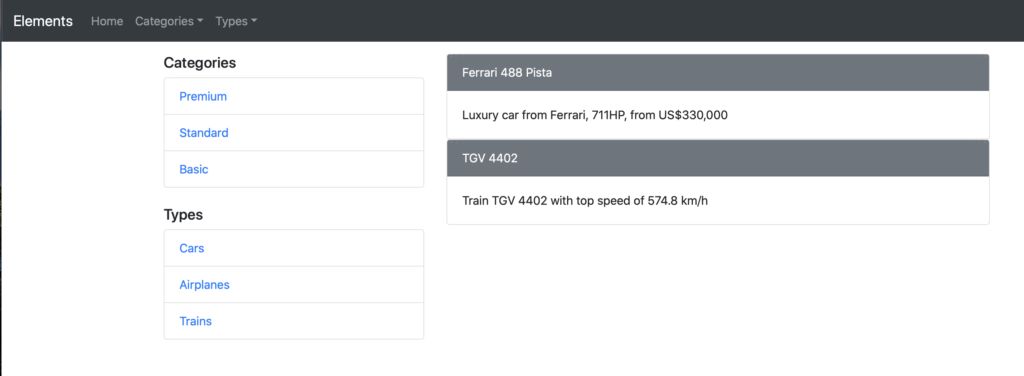
Javascript with Vue app, which consumes the API Rest served by Django but not directly, is consuming the API through Nginx. I'm pretty new with Vue and Javascript, by the way.
Kubernetes is the professional way to deploy and use containers on enterprise graded environments, change my mind hahaha.
So, that is the natural step that you must take if you are being involved with containers.
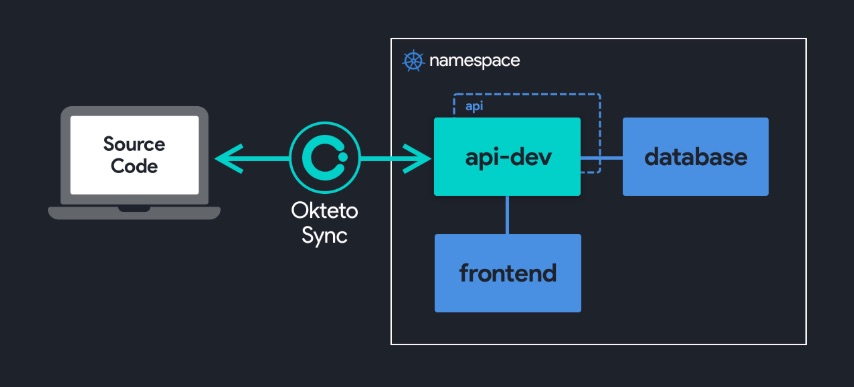
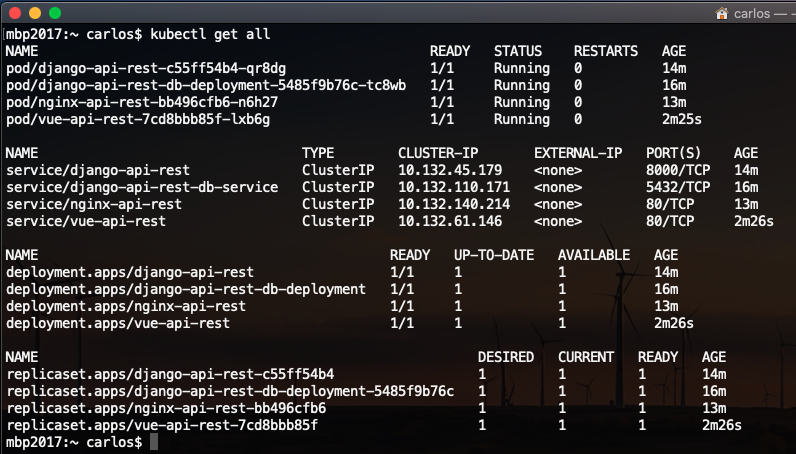
My K8s namespace looks like:
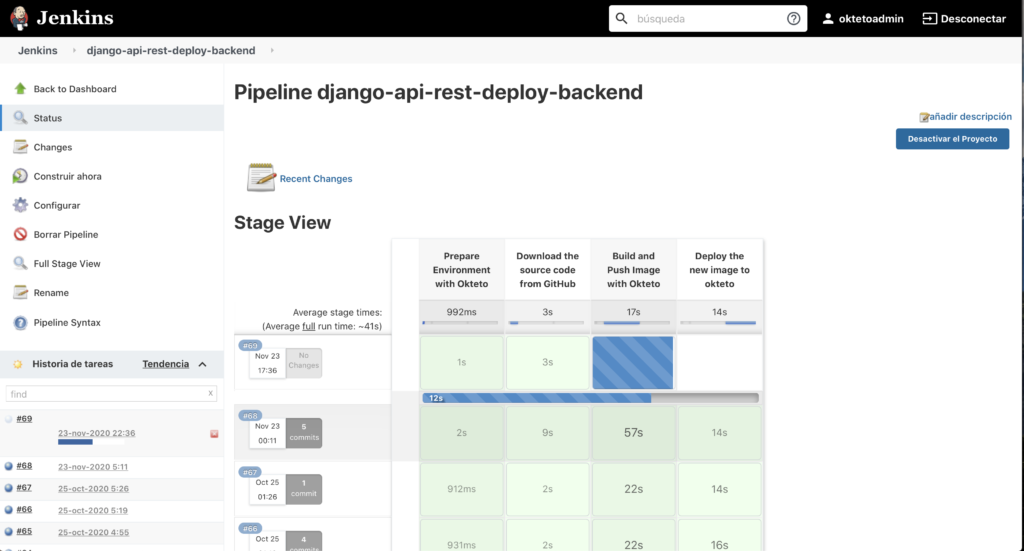
CI/CD Pipelines!
As you should know, Jenkins works with Groovy to build its pipelines, Groovy it is not my favorite language but is still usable and Jenkins have some useful help on the application itself as well as on its documentation.
Database deployment:
#!/usr/bin/env groovy

//Author: Carlos Alvarado
//Jenkins Pipeline to handle the Continuous Integration and Continuous Deployment on Okteto.


node {
    env.OKTETO_DIR = tool name: 'okteto', type: 'com.cloudbees.jenkins.plugins.customtools.CustomTool'
    env.HOME = "${WORKSPACE}"
    env.KUBECTL_DIR = tool name: 'kubectl', type: 'com.cloudbees.jenkins.plugins.customtools.CustomTool'
    env.GIT_PROJECT = 'https://github.com/calvarado2004/django-api-rest.git'


    stage ('Download the source code from GitHub'){
            git url: "${GIT_PROJECT}"
    }


    stage('Deploy the PostgreSQL Database'){
        withCredentials([string(credentialsId: 'okteto-token', variable: 'SECRET')]) {
            def output = sh returnStdout: true, script: '''
            ${OKTETO_DIR}/okteto login --token ${SECRET}
            cd ${HOME}/db-k8s
            ${OKTETO_DIR}/okteto namespace
            ${KUBECTL_DIR}/kubectl apply -f kubernetes.yaml
            ${KUBECTL_DIR}/kubectl rollout status deployment.apps/django-api-rest-db-deployment
            '''
            println output
        }
    }
}
Backend deployment pipeline, Django:
#!/usr/bin/env groovy

//Author: Carlos Alvarado
//Jenkins Pipeline to handle the Continuous Integration and Continuous Deployment on Okteto.
//Prerequisites: you should install the Custom tools plugin on Jenkins, ...
//...get the okteto CLI and Kubectl. You also need to get your Okteto Token and save it on a Jenkins Credential


node {

    env.OKTETO_DIR = tool name: 'okteto', type: 'com.cloudbees.jenkins.plugins.customtools.CustomTool'
    env.HOME = "${WORKSPACE}"
    env.CONTAINER_IMAGE = 'registry.cloud.okteto.net/calvarado2004/backend-django'
    env.KUBECTL_DIR = tool name: 'kubectl', type: 'com.cloudbees.jenkins.plugins.customtools.CustomTool'
    env.GIT_PROJECT = 'https://github.com/calvarado2004/django-api-rest.git'

    stage ('Prepare Environment with Okteto ') {
        withCredentials([string(credentialsId: 'okteto-token', variable: 'SECRET')]) {
            cleanWs deleteDirs: true
            def output = sh returnStdout: true, script: '''
            ${OKTETO_DIR}/okteto login --token ${SECRET}
            '''
            println output
        }
    }

    stage ('Download the source code from GitHub'){
            git url: "${GIT_PROJECT}"
    }

    stage ('Build and Push Image with Okteto'){
        withCredentials([string(credentialsId: 'okteto-token', variable: 'SECRET')]) {
            def output = sh returnStdout: true, script: '''
            ${OKTETO_DIR}/okteto login --token ${SECRET}
            ${OKTETO_DIR}/okteto build -t ${CONTAINER_IMAGE}:${BUILD_TAG} .
            '''
            println output
        }
    }

    stage('Deploy the new image to okteto'){
        withCredentials([string(credentialsId: 'okteto-token', variable: 'SECRET')]) {
            def output = sh returnStdout: true, script: '''
            ${OKTETO_DIR}/okteto login --token ${SECRET}
            cd ${HOME}/backend-k8s
            ${OKTETO_DIR}/okteto namespace
            cat kubernetes.j2 | sed "s#{{ CONTAINER_IMAGE }}:{{ TAG_USED }}#${CONTAINER_IMAGE}:${BUILD_TAG}#g" > kubernetes.yaml
            ${KUBECTL_DIR}/kubectl apply -f kubernetes.yaml
            ${KUBECTL_DIR}/kubectl rollout status deployment.apps/django-api-rest
            '''
            println output
        }
    }
}
Nginx pipeline
#!/usr/bin/env groovy

//Author: Carlos Alvarado
//Jenkins Pipeline to handle the Continuous Integration and Continuous Deployment on Okteto.
//Prerequisites: you should install the Custom tools plugin on Jenkins, ...
//...get the okteto CLI and Kubectl. You also need to get your Okteto Token and save it on a Jenkins Credential


node {

    env.OKTETO_DIR = tool name: 'okteto', type: 'com.cloudbees.jenkins.plugins.customtools.CustomTool'
    env.HOME = "${WORKSPACE}"
    env.CONTAINER_IMAGE = 'registry.cloud.okteto.net/calvarado2004/backend-django'
    env.KUBECTL_DIR = tool name: 'kubectl', type: 'com.cloudbees.jenkins.plugins.customtools.CustomTool'
    env.GIT_PROJECT = 'https://github.com/calvarado2004/django-api-rest.git'

    stage ('Prepare Environment with Okteto ') {
        withCredentials([string(credentialsId: 'okteto-token', variable: 'SECRET')]) {
            cleanWs deleteDirs: true
            def output = sh returnStdout: true, script: '''
            ${OKTETO_DIR}/okteto login --token ${SECRET}
            '''
            println output
        }
    }

    stage ('Download the source code from GitHub'){
            git url: "${GIT_PROJECT}"
    }


    stage('Deploy Nginx to okteto'){
        withCredentials([string(credentialsId: 'okteto-token', variable: 'SECRET')]) {
            def output = sh returnStdout: true, script: '''
            ${OKTETO_DIR}/okteto login --token ${SECRET}
            cd ${HOME}/nginx-k8s
            ${OKTETO_DIR}/okteto namespace
            ${KUBECTL_DIR}/kubectl apply -f kubernetes.yaml
            ${KUBECTL_DIR}/kubectl rollout status deployment.apps/nginx-api-rest
            '''
            println output
        }
    }
}
Vue pipeline:
#!/usr/bin/env groovy

//Author: Carlos Alvarado
//Jenkins Pipeline to handle the Continuous Integration and Continuous Deployment on Okteto.
//Prerequisites: you should install the Custom tools plugin on Jenkins, ...
//...get the okteto CLI and Kubectl. You also need to get your Okteto Token and save it on a Jenkins Credential


node {

    env.OKTETO_DIR = tool name: 'okteto', type: 'com.cloudbees.jenkins.plugins.customtools.CustomTool'
    env.HOME = "${WORKSPACE}"
    env.CONTAINER_IMAGE = 'registry.cloud.okteto.net/calvarado2004/frontend-vue'
    env.KUBECTL_DIR = tool name: 'kubectl', type: 'com.cloudbees.jenkins.plugins.customtools.CustomTool'
    env.GIT_PROJECT = 'https://github.com/calvarado2004/vuedjango.git'

    stage ('Prepare Environment with Okteto ') {
        withCredentials([string(credentialsId: 'okteto-token', variable: 'SECRET')]) {
            cleanWs deleteDirs: true
            def output = sh returnStdout: true, script: '''
            ${OKTETO_DIR}/okteto login --token ${SECRET}
            '''
            println output
        }
    }

    stage ('Download the source code from GitHub'){
            def output = sh returnStdout: true, script: '''git clone "${GIT_PROJECT}"'''
            println output
    }

    stage ('Build and Push Image with Okteto'){
        withCredentials([string(credentialsId: 'okteto-token', variable: 'SECRET')]) {
            def output = sh returnStdout: true, script: '''
            ${OKTETO_DIR}/okteto login --token ${SECRET}
            cd ${HOME}/vuedjango
            ${OKTETO_DIR}/okteto build -t ${CONTAINER_IMAGE}:${BUILD_TAG} .
            '''
            println output
        }
    }

    stage('Deploy the new image to okteto'){
        withCredentials([string(credentialsId: 'okteto-token', variable: 'SECRET')]) {
            def output = sh returnStdout: true, script: '''
            ${OKTETO_DIR}/okteto login --token ${SECRET}
            cd ${HOME}/vuedjango/frontend-k8s
            ${OKTETO_DIR}/okteto namespace
            cat kubernetes.j2 | sed "s#{{ CONTAINER_IMAGE }}:{{ TAG_USED }}#${CONTAINER_IMAGE}:${BUILD_TAG}#g" > kubernetes.yaml
            ${KUBECTL_DIR}/kubectl apply -f kubernetes.yaml
            ${KUBECTL_DIR}/kubectl rollout status deployment.apps/django-api-rest
            '''
            println output
        }
    }
}
Dockerfiles
Docker is just a company that works with containers, but its Dockerfiles became the standard way to define almost all of them.
So, yes, this is the proper way to deal with more than one environment, define inside your code variables that you can check and modify later. Nevermore the developers mantra: but it works on my machine!...
Note that I'm consuming the Django application making reference to the internal DNS that is the standard way to do it on Kubernetes {{application}}.{{namespace}}.svc.cluster.local when you want to consume a service with another service internally. This approach will not work for Vue because that application is effectively consuming the API on client side (literally is doing its duty on your browser) and because of that, it needs to be referenced to the API published to Internet (or Intranet if is an internal app).
As you can realize, DevOps adoption is not easy at all because implies to understand and know how to make it work together a huge range of technologies, that used to be very specialized and kind of isolated ones from each others. Developers needs to know more in deep about infrastructure, and Sysadmins, DBA's, Testers and Security teams needs to understand and make some effort to achieve a confortable way to deploy easily to production but warranting the best levels of quality at the same time.
This is the deal, but at the end of the day, it's not rocket science... 😉